![How to Install VMware Workstation Pro on Windows [Step-by-Step Guide]](https://blog.infoxide.com/wp-content/uploads/2025/09/vmware-workstation-pro-15-5-installation-finish-150x150.webp)
How to Install VMware Workstation Pro on Windows [Step-by-Step Guide]: If you are into ethical hacking, cybersecurity, software testing, or development, you need a safe environment to test applications. That’s where VMware Workstation Pro 15.5 comes in. It allows you to run multiple operating systems on a single computer without affecting your main OS.
In this guide, we’ll cover:
- Where to download VMware Workstation Pro 15.5
- Step-by-step installation process (with images)
- System requirements
- Basic configuration after installation
Let’s get started!
System Requirements
Before you install VMware Workstation Pro 15.5, make sure your system meets these requirements:
- Operating System: Windows 7, 8, 10 (64-bit)
- Processor: Intel or AMD 64-bit with VT-x/AMD-V support
- RAM: Minimum 4 GB (8 GB recommended)
- Disk Space: At least 1.5 GB free space for installation
- Administrator Privileges: Required
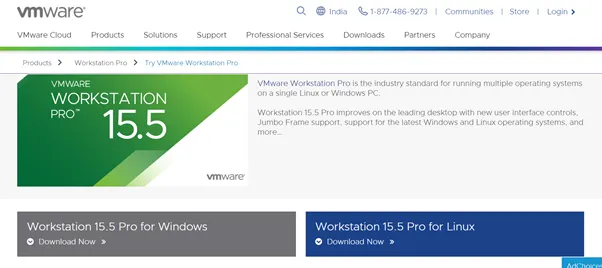
Step 1: Download VMware Workstation Pro 15.5
- Go to the official VMware website: VMware Workstation Pro Downloads
- Choose VMware Workstation Pro 15.5 for Windows.
- Download the setup file (
VMware-workstation-full-15.5.x.exe).
Step 2: Run the Installer
- Navigate to the folder where you downloaded the setup file.
- Right-click on the installer and select Run as Administrator.
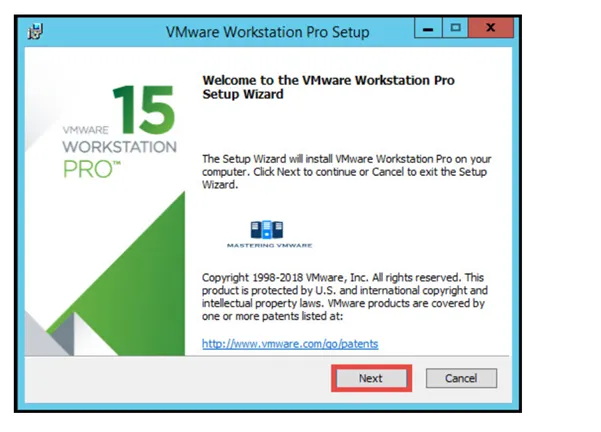
Step 3: Start Installation Wizard
- The VMware Setup Wizard will open. Click Next.
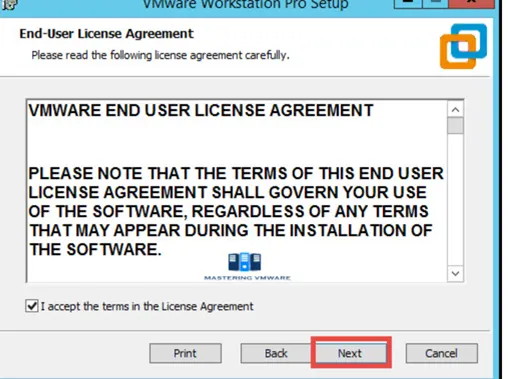
Step 4: Accept License Agreement
- Read the End User License Agreement (EULA).
- Tick I accept the terms in the license agreement.
- Click Next.
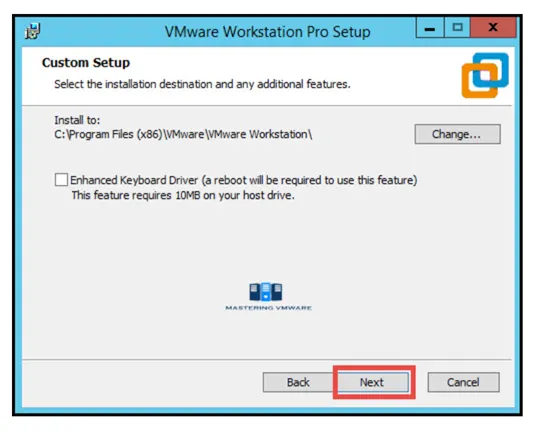
Step 5: Choose Installation Location
- By default, VMware will install in
C:\Program Files (x86)\VMware\. - You can change the location or leave it as default.
- Click Next.
Step 6: Select Installation Options
- Choose whether you want Enhanced Keyboard Driver and Shortcuts.
- Click Next.
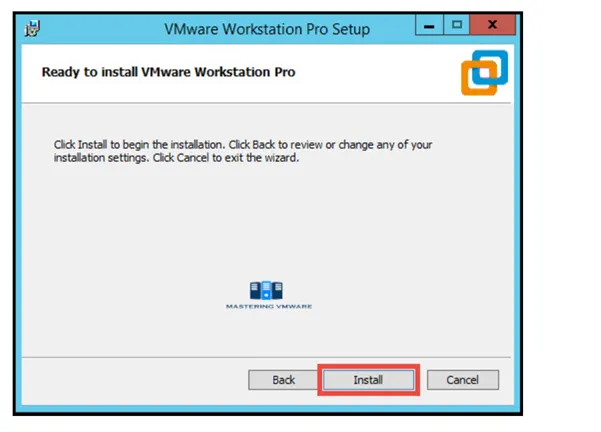
Step 7: Ready to Install
Click on Install to begin the process.
Step 8: Installation in Progress
Wait while VMware Workstation Pro 15.5 installs on your system.
use this vmware keys
- FU512-2DG1H-M85QZ-U7Z5T-PY8ZD
- VG30H-2AX11-H88FQ-CQXGZ-M6AY4
- CU7J2-4KG8J-489TY-X6XGX-MAUX2
- FY780-64E90-0845Z-1DWQ9-XPRC0
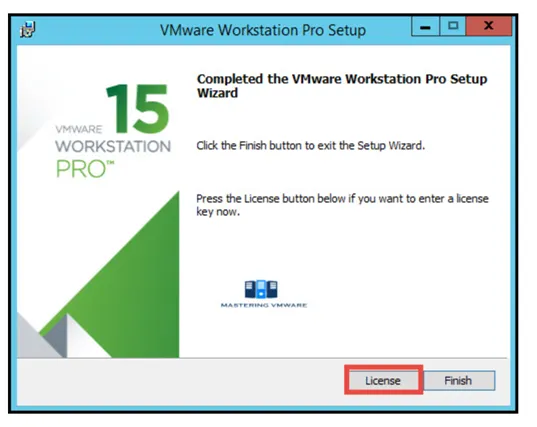
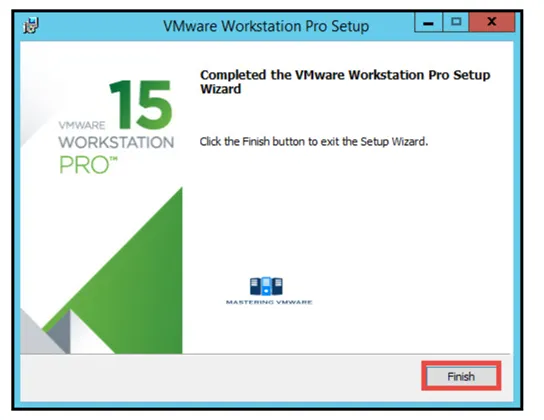
Step 9: Installation Complete
- Once installation is finished, click Finish.
- Restart your system if required.
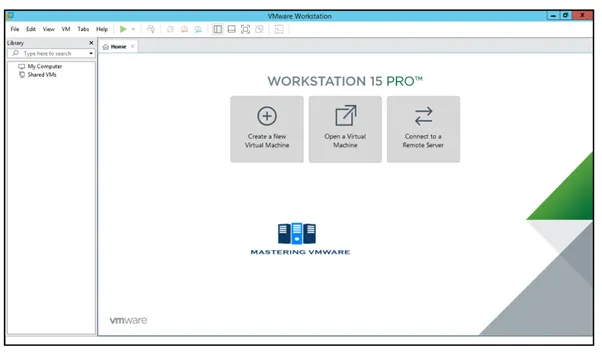
Step 10: Launch VMware Workstation Pro
- Open VMware Workstation Pro from your Desktop or Start Menu.
- You’re now ready to create your first virtual machine! 🎉
Final Words
You’ve successfully installed VMware Workstation Pro 15.5 on your Windows PC. Now, you can run multiple operating systems, test software safely, and set up virtual labs for cybersecurity or ethical hacking practice.
👉 If you’re learning Ethical Hacking, this tool is a must-have for running Kali Linux, Parrot OS, or any other testing environment.


